- Industrial Design Service from Start to Finish
- [email protected]

Custom Sprinter Conversion: Maximize the Exterior
November 15, 2017
Sprinter Van Interior Walls: Making Utility Cozy
December 27, 2017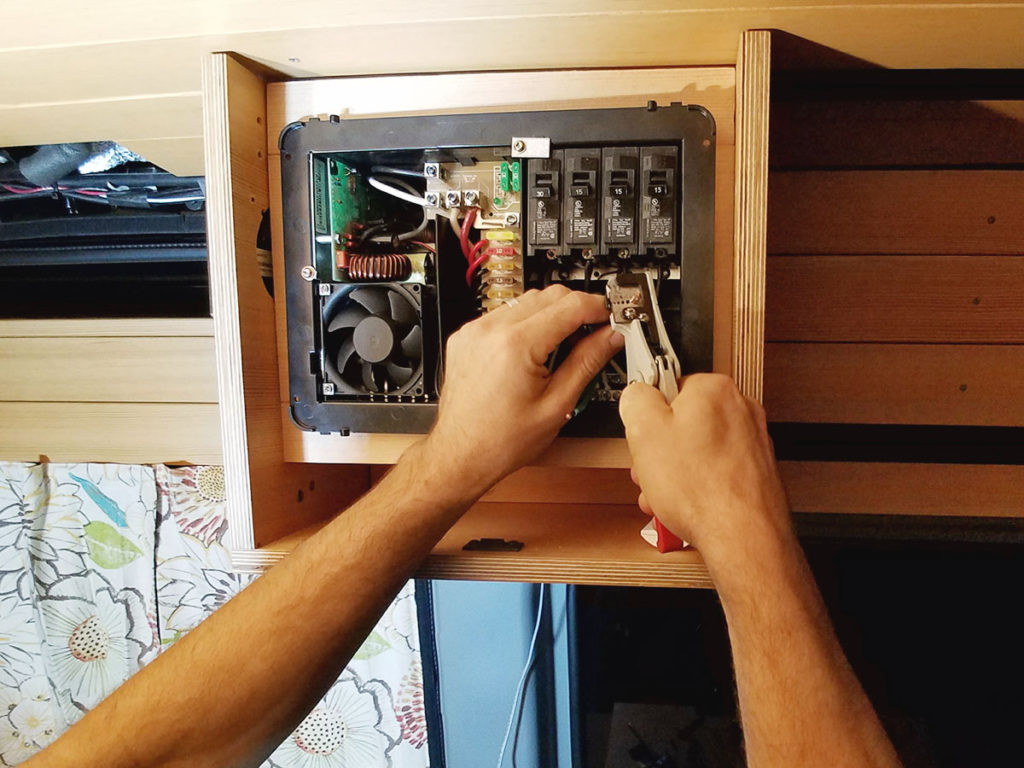
Sprinter Conversion Electrical System: Design and Build
Facing a sprinter conversion electrical system head-on? Prepare for this complex project by using our trials and tribulations to improve your experience.
UPDATE: Don’t want to tackle this yourself? Reach out to RoostVans.com. They perform complete custom van conversions based on your performance requirements. Want a consult? We provide consultation and wiring schematics complete with materials and sourcing. Give us a call.
We needed to bring power to these components—and fight the temptation to install the track system and CVG Douglas Fir cladding. We still had much to figure out and plan for the electrical system—but installing the track and cladding would have been an easy win.
Hence, the internal struggle.
Knowing the difficulty of retrofitting electrical wire in an existing house, as opposed to new construction, helped make the decision a no-brainer. Little did we know, this part of our Sprinter van conversion project turned out to be the most complex. It took the longest amount of time and required the most amount of reworking.
If you’re facing a sprinter conversion electrical system head-on, feel free to use our trials and tribulations to improve your experience.
Planning the Electrical System
When planning the electrical system, we first needed to set some goals. We had to determine the loads the system would need to support. This influenced the gauge of the wiring—where the wiring would need to be run, the size of the battery array, and the capabilities of the solar panels. We settled on Renogy panels and in the future will likely go with Light Harvest Solar out of Portland.
Coming from a designer’s perspective, we wanted the user experience to be similar to that of an extremely energy conscious homeowner. Flip on a light switch. Plug in an appliance. Things just work. Unnecessary steps of turning things off and on—and getting on hands and knees to turn something on—had to be eliminated.
Our Sprinter van electrical system goals:
- Be simple to use and intuitive. No extra brain power necessary.
- Power 120V AC tools like a chop saw, table saw, heat gun, and an inline on-demand hot water heater product that I am prototyping.
- Power sensitive electronics through 120V AC, such as a laptop or microwave.
- Power 12V DC equipment including a stereo amplifier, LED lighting, refrigerator, water pump, fan, and a cabin heater fan.
- Run the system for a couple days at a time while boondocking. Travel between locations gives us the option to recharge off the engine alternator, and trickle charge from the solar panels.
Sprinter Van Solar Panels
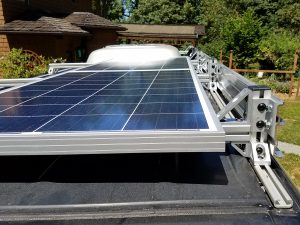
When choosing Sprinter van solar panels we had to consider a handicap: We would likely try to park in the shade during the hot summer months. So in planning out the roof rack system, we put less emphasis on the solar panel area.
We also didn’t want to limit cargo box choices. We have a love/hate thing going on with the factory ice-box-producing air conditioner since it takes up a nice chunk of roof real estate.
After considering the space we had left on the roof, we purchased two 100 watt solar panels from Renogy. But, we ended up sending one back after changing the layout of the roof rack.
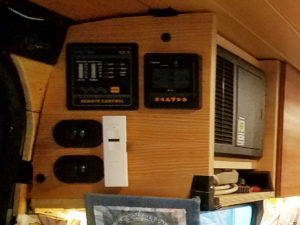
We also opted for a nicer MPPT solar charge controller to get the most efficiency from the solar panels. We added a system monitor to keep track of the battery and solar system status at all times.
Highly recommended: Ability to monitor your power system. We used an MT-50 Tracer Meter.
12v and 120v System Design
 We added up all of the load requirements—and carefully planned out what components we might actually have powered up at any given time—to calculate an amperage draw. We also planned to finish the conversion project, powering saws and tools right from the van itself. With this info, we could choose the right 12v battery and 120v inverter.
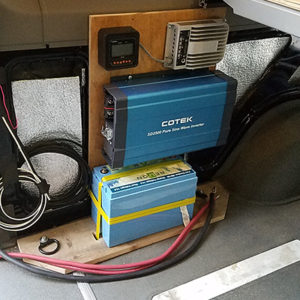
For the 120V AC circuit, We optioned for a Cotek SD2500 Pure Sine WaveInverter. We went this route for a few reasons:
- Plenty of clean power for electronics at a good price.
- Can nearly run two 120v AC house circuits at 15 amps each.
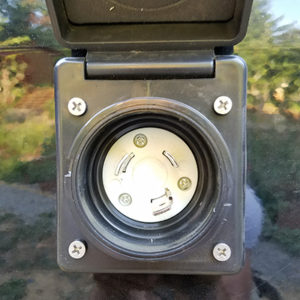
- It has an auto sense switch built in that will recognize shore power automatically and disconnect the battery from powering the 120v AC circuits.
For the 12V DC circuit, we added up the loads from the fridge and the cabin heater to come, and also the LED’s and other components that we might run to give a margin of error. The combination of what we thought would be our overall daily draw gave us the amp hour requirements for the battery size.
For the battery bank setup, we calculated needs at ~400Ah. We first looked at Gel or AGM deep cycle batteries that do not need to be vented to the outside. But considering a 50% max discharge requirement, the 4 x 100ah battery bank would be quite heavy at over 200 lbs and also take up a ton of room. Alternatively, we opted for a Relion 100ah Li-ion battery from Miles at Light Harvest Solar out of Portland.
Along the way, we learned that AGM and Li-ion batteries are not apples to apples. Check it:
- A Li-ion battery can be completely discharged well over 1500 times vs 500 times for an AGM unit. Basically, a 100Ah Li-ion battery is the equivalent of two AGM’s, and lasts longer.
- A Li-ion battery can produce well over twice the power without damage—a good option when powering high draw devices such as saws and inline hot water heaters.
- If you draw too much power too quickly from an AGM and especially Gel batteries, you’ll prematurely calcify it and reduce the cycle life.
- Li-ion batteries are less than 1/4 the weight per usable Ah.
- Li-ion batteries are less than 1/2 the size per usable Ah.
- Cost of entry can feel quite high. Per amp hour, Li-ion is over 4x as expensive. But per usable Ah, the cost is only twice as high.
The Relion Li-ion 100Ah battery was $1400 but is worth two 100ah AGM units. We consciously paid for less weight, less size, and more power output. Pay to play right?
For those of you that are still awake after the battery dissertation, you may have recognized the need for another 100Ah battery. Even though Li-ion can throw out a lot of power, we need to be careful. Pulling more than a 100A load from this battery for long periods of time is beyond the manufacturer’s recommendation. A full 15A 120V circuit, powered by the 90% efficient inverter, pulls about 165A. Another 100Ah battery will be purchased when funds allow which will be installed in parallel. This will allow for double the amperage draw at 200A.
Batteryuniversity.com and batterystuff.com are both good resources for nerding-out on battery technology if you need some more details.
Sprinter Van Conversion Wiring
With the inverter, solar panel, solar controller, and batteries installed, we needed to get going on wiring. When wiring, it’s important that you have solid, secure connections that will not vibrate loose, fit poorly and increase resistance, or promote heat and the possibility of a fire.
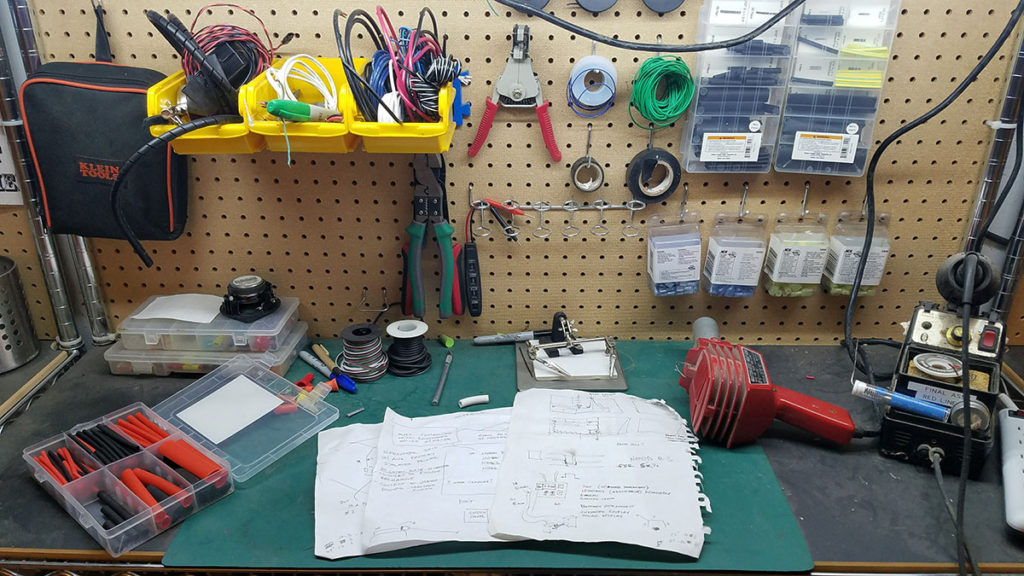
We purchased a hydraulic wire crimper, quality terminals, and good-quality adhesive heat shrink tubing. We then went to town laying out the true copper (not tinned) stranded SJO wiring.
Important: Give this part time and patience, and an attitude of throwing it out and reworking it to be better. AKA, buy extra wire and crimps.
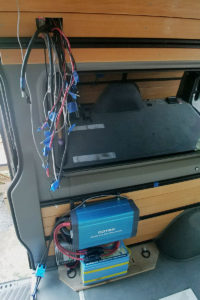
To wire up the big power inverter safely to the battery, we ran 1 AWG cable with fuses. After the battery was connected to the inverter, and the solar to the battery, we began the running the massive amount of wiring throughout the cab of the van.
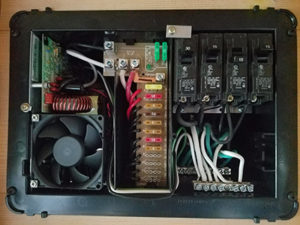
We had to place outlets where needed and build a central power hub. The hub would be used for shut-offs, fuses and breakers. Clean execution was paramount. Careful planning came into play here, measuring and taping the locations of outlets and appliances. Yet still, we didn’t have enough extra wiring when installing the circuit breaker box.
Which brings us to the circuit breaker box. This one was a doozy. We opted for an integrated converter breaker box from Progressive Dynamics called the Mighty Mini as it has a converter for taking 120V shore power and turning it into DC, in order to power the 12V DC loads.
It also supports fully charging the Li-ion battery. When connected to shore power, the battery will be charged and appliances can be powered from shore power instead of the battery. Cool stuff.
We strongly considered a system and beautiful breaker panel box from BlueSea Systems. But, we could not justify the $800 switch panel needed to get the job done. The one-stop Mighty Mini was perfect. Not as sexy, but it’s doing a great job. Effective and safe.
Some advice to heed, when you find yourself tangled in miles of wiring:
 Plan, plan,plan. And plan some more.
- Do not underestimate how much time wiring can take. It took us two very long days, plus some reworking.
- Remember that the longer the wire, the more resistance along the path to and from the battery. Do your research and calculations carefully.
- Use stranded cable for all 120V and 12V connections because the van will vibrate. The last thing you want is a fatigue crack from a 120V solid core cable in the wall.
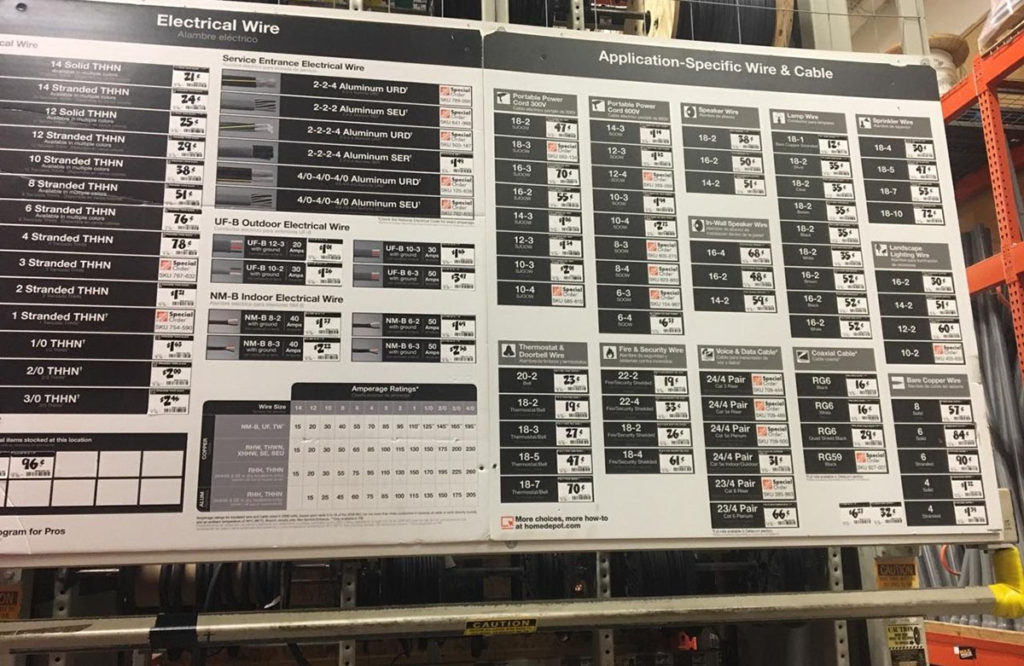
- Protect your wiring from chafing or use power cord wire, also known as SJ, SJO, and SJOW SJOOW. Home Depot has a great bulk selection of this type of wire.
- Add quality crimps for disconnects and service and make sure to get secure, fully engaged crimps on all connections.
- You are choosing wiring based on a function of voltage and amperage, which is vastly different in 120V and 12V systems. You need a substantially larger wire to power a 10 amp appliance off of 12V than you do off of 120V.
- Use only the AWG needed for what you are powering. You will run out of space pretty quickly if you are running stuff through the walls and the top ribs.
- Wiring gets expensive quickly.
- Pick fuse values based on the wire amperage capacity, AKA ‘amapacity’. Not the appliance you are powering.
And lastly, don’t make the mistake I did… give yourself twice as much extra wire out of both entry/exit points you think you’ll need. If you don’t have enough, suck it up and go to the store and get more!
The end result? Awesome.
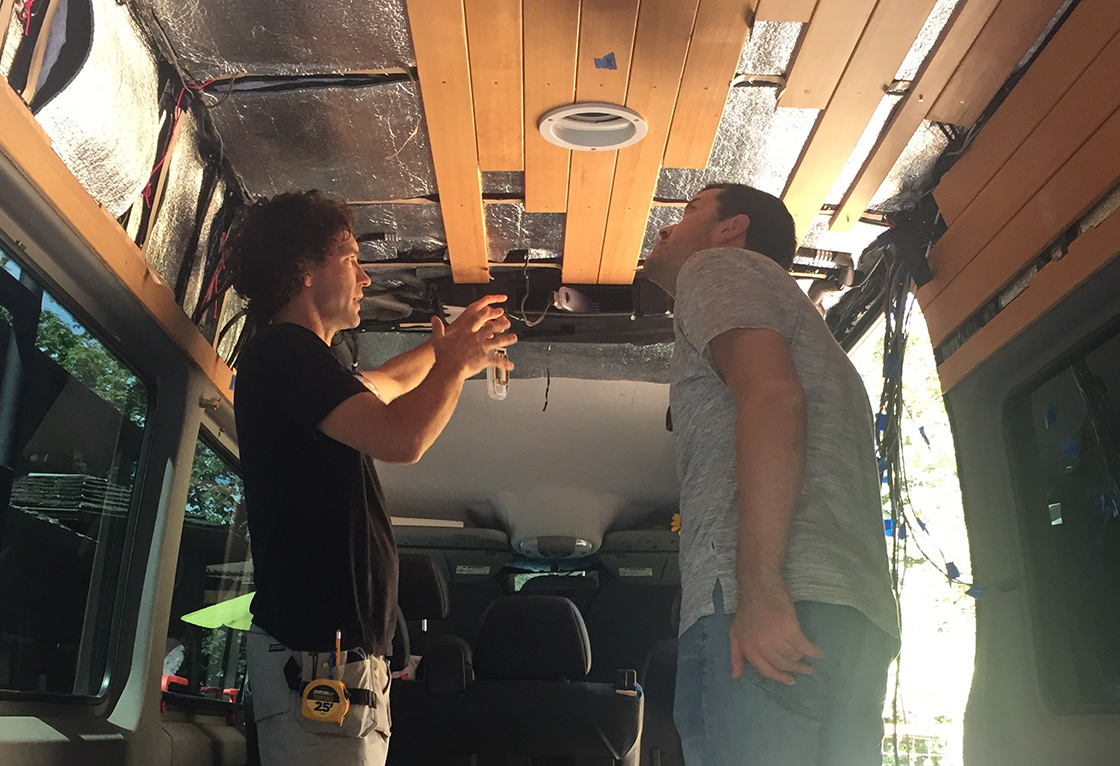
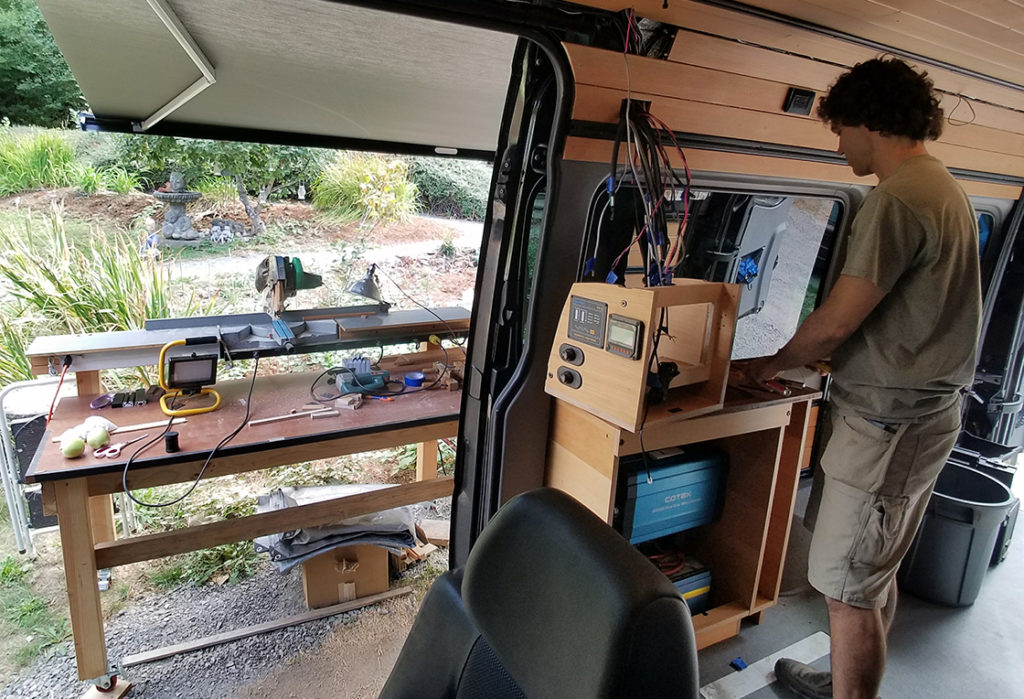
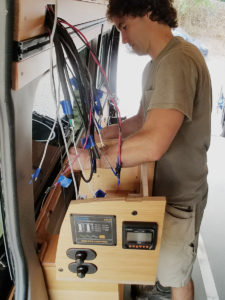
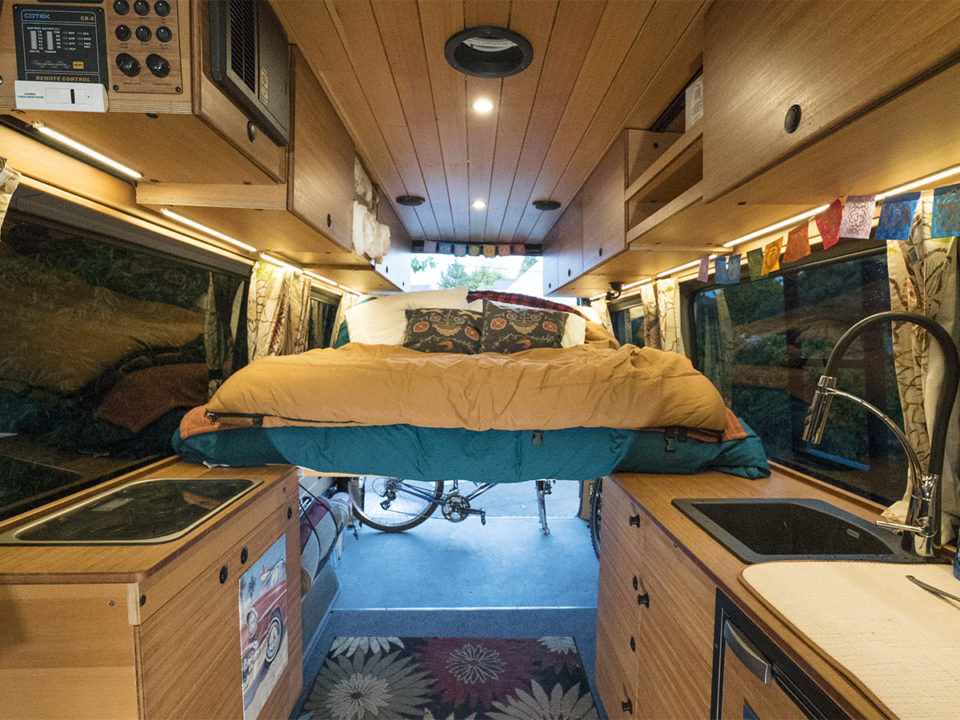
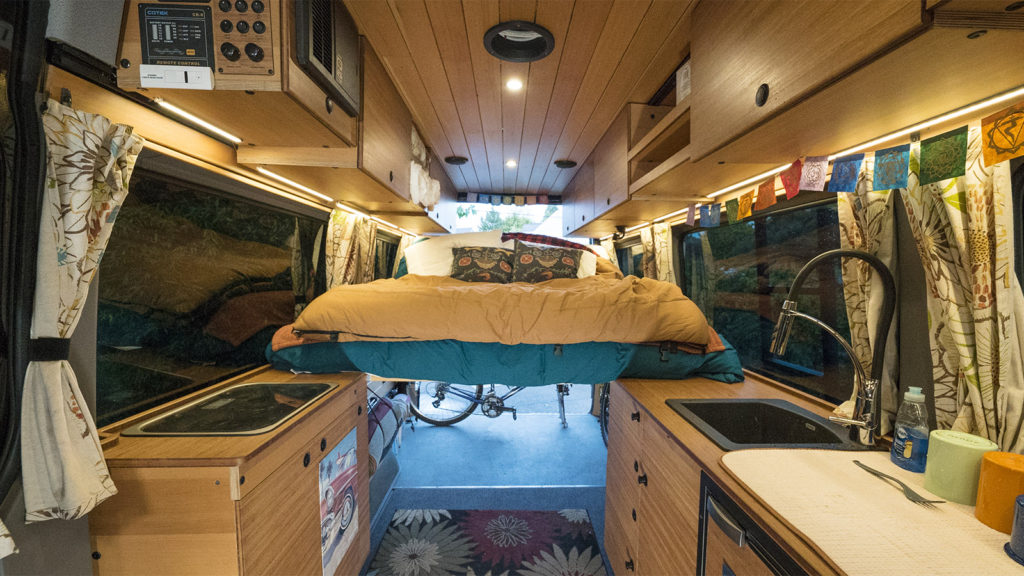
The wiring is tucked out of the way through the right side ‘C’ pillar, it’s centrally located in the van, and there is a power control panel that everything can be controlled from. Sure, it can be improved, but it’s safe and secure.
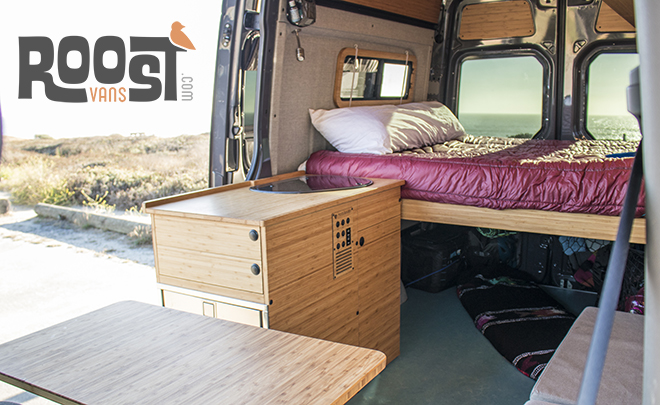
And even better yet? I can build the rest of my Sprinter van conversion, with the power of my Sprinter! You’ve probably noticed some pictures of the woodwork, I just couldn’t resist the temptation to get some of it up before the electrical was finished. So stay tuned, up next we’re installing the wood slats and T-slot system.
Specs and Materials
- Home Depot for Bulk Wire, boxes and GFCI outlets
- Light Harvest Solar for various fuses and fittings and the Cotek SD2500 Inverter
- Cotek Inverter remote control
- Recessed warm color dimmable LED light pucks
- LED dimmable Switch
- Progressive Dynamics Mighty Mini PD4045LIKA Lithium Ion Charger Converter
- Knacro digital temperature controller for auto fan control
- Renogy Solar charge controller temperature sensor
- PENSON CAYQK007010 Hydraulic Wire Battery Cable Lug Terminal Crimper Crimping Tool, 9 Dies, 10 Ton
- Dual Wall Adhesive marine heat shrink
- Premium Gaffer tape
- 100 watt solar panels from Renogy
- MPPT solar charge controller, also from Renogy
- MT-50 Tracer Solar Meter
- Dream Lighting RV LED Recessed Down Light 2W Warm White Black Shell Pack of 6
- KNACRO 20-90°C Digital Temperature Controller Heating Cooling Thermostat Switch DC 12V
Some of the above links will take you to Amazon, and as an Amazon Associate CreatID, Inc. will earn revenue from qualifying purchases.
In Hindsight
The battery power monitor on the MT-50 is pretty poor at best. I regularly see incorrect battery states of charge and am not confident in relying on it to tell me how much juice the battery has. Next build, I’m going to try to install a Victron Energy Color Control GX display as a one point stop for all of my energy monitoring needs. It’s just plain cool.
I would have added more switches to the location of the appliance, as pulling fuses to turn off stuff is a real PITA. I definitely need to add a switch at the water pump as it will continue pumping indefinitely, even if you run out of water. As it stands now, Even with all of the planning and work, I’m going to be completely reworking my wiring box to clean it up and make it something I’m proud to open and show off. It’s a bit messy. I wish I would have taken the time to lay out the wiring inside the cabinet more beautifully.
Give yourself more room for switches and shut offs. Add shut off switches to mains, auxiliary, and anything that draws power. I opted to rely on pulling fuses, which sucks. If I ponied up to get a BlueSea systems panel then I wouldn’t have to worry about it.
I would have purchased locally. Renogy’s options, albeit good stuff, are a bit limited due to being designed in size to allow for UPS shipping. Locally, Light Harvest Solar buys panels by the pallet and has much larger panel options that can give you more wattage for the available space, with a fewer number of panels.
I would not have over-specified the wiring with a larger AWG than needed. It was too space consuming. Carefully figure out the specs and trust your numbers.